
 |
| Basic Shapes |
Without shapes, creating design will be difficult if not impossible. A shape is the form of an object, outlines or its external boundary. The major shapes we encounter are circle, rectangle, square, triangle etc. Basically we have two kinds of shapes in design, free form (organic shapes) and geometric shapes. Free form shapes are shapes associated with nature such as tree, animal etc. Geometric shapes are shapes like circle, rectangle, oval. They can be defined by mathematical formula and they are precise. We will deal with geometric shapes in the tutorial using Illustrator
Shape Tools in Illustrator
Launch your Illustrator. In the tool panel you can locate the shape tool. The icon have many tools grouped together. Hold your mouse while clicking on the tool to reveal all the tools. You can use shortcut key M for rectangular tool

Creating Shapes
To create any shape, select any tool from the tool list. Go to your document, hold left click and drag across on the document to create a shape. Hold SHIFT key while creating the shape to make sure they maintain equal proportion.

Using the Stroke and Fill
Once you have created the shape, make sure you select it by clicking on it with Selection tool (V). Go to the control panel and chose color and fill. You can edit the width of the stroke. You can also remove the fill and stroke here

Resizing Shapes
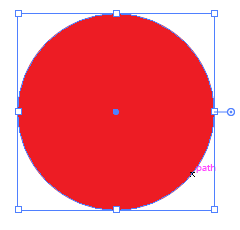
Our goal here is to resize the shape without losing the proportion. You can simply do this by selecting the shape using Selection Tool (V). Drag the shape from the anchor points ( anchor points are those tiny blocks at the edges of the bounding box). Hold SHIFT key and resize to constrain proportion. Hold ALT key and SHIFT key while resizing to resize from the same position
Rotating Shapes
Make sure you select the shape with Selection Tool (V). Then move your cursor very close to the anchor point but do not click on it. As you move the cursor near the anchor point, it turns into a rotation icon. Then click and rotate. To make sure the rotation is at 45 degrees, hold SHIFT key while rotating.
Reshaping Tools
After creating a shape you can reshape it using some tools. Direct Selection Tool (A) is one of the most used tool. With this tool, you can drag the anchor point to any position creating a custom shape.

If you drag inside using the circle icons inside, you will create custom shape too.

Advanced Options
The Star Tool and Polygon Tool have options to create variation of shapes. To achieve this, select the Star Tool. Go to your document and click. A dialog box appears, here you can change the radius and points in the star. You can do this for the Polygonal Tool. Change the settings until you are satisfied with the result

 |
| Variation of Stars by changing the points and radius |


0 Comments