

There is an argument about how legit a smudge painted work is. Most digital artists do not regard a painting done with smudge technique as a legitimate artwork. I am not in the best position to say whether this line of thought is true or not. If you are comfortable with using this technique, there is no harm in that. Smudge painting is very popular in South East Asia especially Malaysia and Philipines. It looks good when properly done but very awful when the technique is poor.
A good knowledge of highlights and shadows is very important as we build up our image. Smudge painting does not involve painting from the scratch rather it is a subtle blurring of our image. A good image with necessary sharpness is necessary. It is also good we remove the background from our image before painting. Pay attention to the lighting in your image. Areas with highlights are first painted before areas with shadows.
In this tutorial, we will use Photoshop Smudge tool to create a realistic smudge painting.
Step One
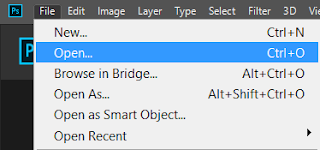
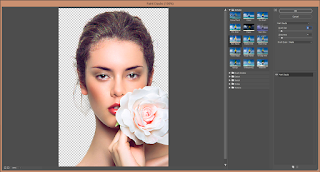
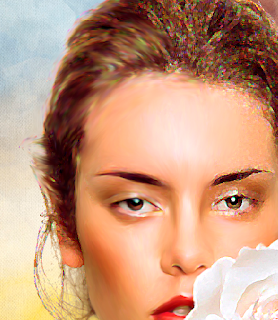
Open the image in Photoshop using File > Open. I used an image from Pixabay The background of the image is already removed (It is a PNG image format)
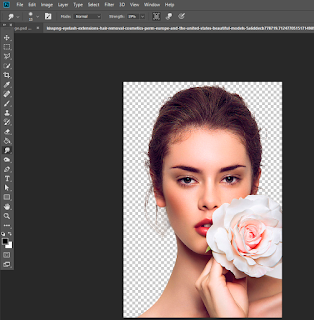
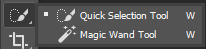
You can remove the background of your image using Quick Selection (shortcut key is W) or Pen Tool (shortcut key is P)
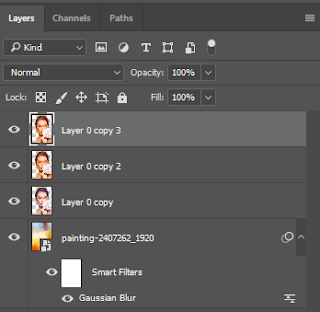
Open the image with a painting texture (Use File > Place Embedded to place the background. Drag it below the selected image layer of the model.


You can remove the background of your image using Quick Selection (shortcut key is W) or Pen Tool (shortcut key is P)

Open the image with a painting texture (Use File > Place Embedded to place the background. Drag it below the selected image layer of the model.


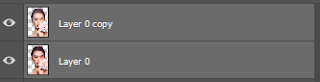
I duplicated the "Layer 0" with our model after removing the background (use CTRL + J to duplicate)

Step Two
Apply Adjustment Filters
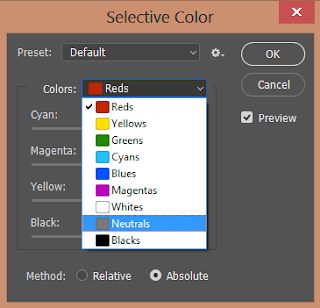
While on the "Layer 0 Copy", go to Image > Adjustment > Selective Color. In the Colors, chose Neutral from the drop-down list. Adjust the Cyan, Magenta, Yellow, and Black values till you are satisfied.

Adjust the Levels, Color Balance, Brightness / Contrast from the Adjustment filters.


Step Three
Sharpen the Image
Go to Filter > Sharpen. You can repeat this step if you sharpness is not obvious. Then go to Filter > Artistic > Paint Daubs. Adjust the Brush size and Sharpness till your image becomes sharper. Click OK.

Merge the "Layer 0" with the "Layer 0 Copy". You can do this by holding CTRL, then click on the layers to select them. Then press CTRL + E.


Duplicate this layer (use CTRL + J to do this)

Step Four
Start the Smudge Painting
This is a crucial step. A good choice of smudge brush and settings will determine the success of our painted work. I used Saffi Clon smudge brush. This smudge tool has five brushes inside. Some are smooth while some are textured. I use the smooth brushes here to smoothen my painting while I use the textured brushes to create depth and add texture.

Adjust the brush strength as you paint. Use high strength when you want to create a smooth area. Use it carefully to avoid over smudging. Make your brush size small using this key on your keyboard [ or larger using ]. Your brush size needs to be small when you are painting a tight small area.


Step Five
Creating Highlights and Shadows
After smudging. Duplicate the layer.
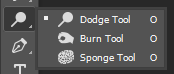
Select your Dodge Tool (O). Use the Midtones and lower the Exposure. Dodge selectively areas that have highlights in the image. Do the same for the Burn Tool. Use it to add shadows to some areas in the image.

Select your Dodge Tool (O). Use the Midtones and lower the Exposure. Dodge selectively areas that have highlights in the image. Do the same for the Burn Tool. Use it to add shadows to some areas in the image.

Step Six
Sharpen the Image
We have to sharpen the image once again. Duplicate the layer after burning and dodging. Go to Filter > Sharpen > Smart Sharpen. Adjust the Radius but leave the Amount at 100.

Step Seven
Soft Smudging.
Duplicate the layer again after sharpening. Use your smudge tool to smoothen the face again. Use it lightly this time around to avoid too much blurring.

Step Eight
Adjustment Filters
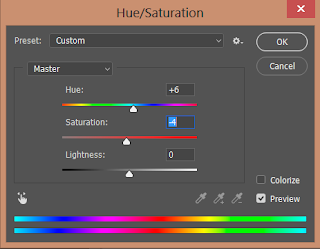
Duplicate after smudging. On the new layer, go to Image > Adjustment > Hue / Saturation. Decrease the Saturation. Hit OK.
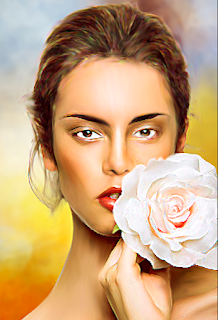
You have created your smudge painting.


You have created your smudge painting.


0 Comments