

This unique logo of the Kansas bank will help us to understand how to use shapes in logo creation. I will use CorelDRAW X7 to create this logo
Step One
Create a new document by using CTRL + N. In the dialog box, choose any document size. Leave the resolution at 300 dpi
Step Two
Select the Polygon tool. Draw a polygon. Go to the Property panel. Change the number of points or sides to 6. Change the Outline width to 0.5. Change the width to 61 and height to 6.7. Hit Enter on the keyboard to confirm

Step Three
Select the polygon, then use CTRL + D to duplicate the shape. Select the duplicate, then go to the property panel and change the width to 4.1 and height to 4.7.

Step Four
Select all the shapes by using CTRL + A. Align the objects horizontally by using E on the keyboard and vertically by using C.

Step Five
Select the whole objects by using CTRL + A on the keyboard. Then go to the Shaping options in the property panel. Choose Trim (it will use one shape to cut into another shape)

Select the shape in the middle using the Pick tool and hit the Delete key on the keyboard to remove it. This will create an empty space inside the shape
Step Six
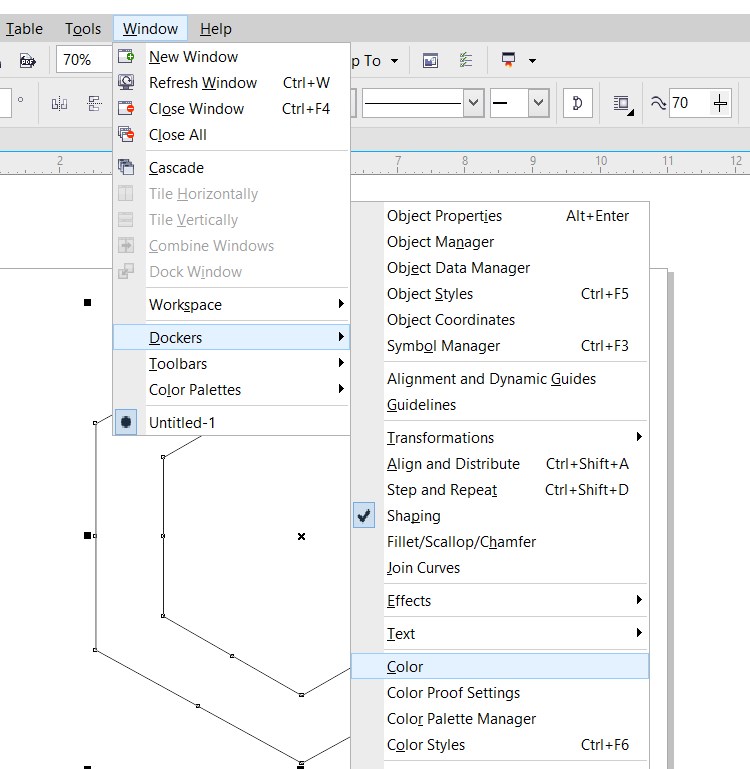
Go to Window > Dockers > Color. A docker will appear at the top right-hand corner near the color palette. Choose CMYK. In the values, write 26 for Cyan (C), 100 for Magenta (M), 63 for Yellow (Y) and 18 for Black (K). Click on Fill.


Step Seven
Select the Rectangle Tool. Draw a rectangle and use it to cover the shape we created with the polygon earlier. Use the Pick tool to move it around

Use CTRL + A to select the whole objects in the document. Go to the property panel. You will see the shaping options, choose Trim.

Use the Pick tool to move the rectangle to the edge of the shape created. Use CTRL + A to select all. Then use the Trim option in the shaping options to delete it. Repeat the same for the two edges.

Step Eight
Select the shape created with the Pick tool. Use the shortcut CTRL + D to duplicate it. Change the angle of rotation of the duplicate to 300 in the property panel

Step Nine
Use the Pick tool to move the duplicate as shown in the image below.

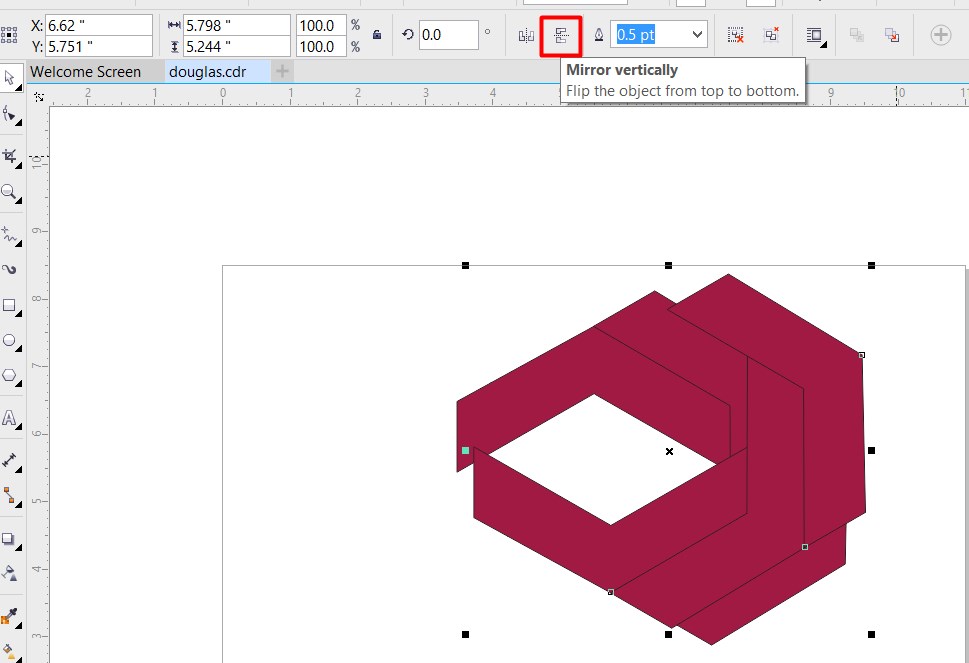
Make another duplicate of it using the shortcut CTRL + D. Go to the property panel and choose Mirror Vertically in the property panel. Move the shape to fit in properly


Select the whole shapes using CTRL + A. Then use CTRL + G to group them together
Select the whole grouped objects again. Make another duplicate of them using CTRL + D.

Go to the property panel and choose Mirror Vertically. Go to the property panel again and choose Mirror Horizontally. Move the object to fit into the original object group.

Step Ten
Select the whole shapes using CTRL + A. Then use CTRL + G to group them. Go to the Outline Pen in the toolbox and choose 10 pt. Change the color to white in the color palette.


0 Comments