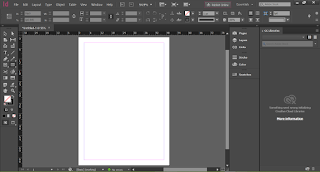
A good understanding of the Adobe InDesign workspace will help facilitate your work flow and make the software user friendly to you. I use Adobe InDesign CC 2017 hence some features might differ from earlier version of the software. I launched the software and the welcome screen
appears like this
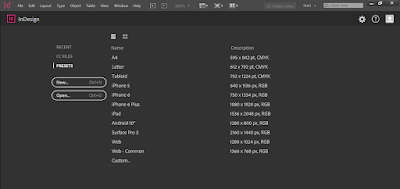
These are presets to help you chose a document to work with. These presets already have dimensions set for the different document type like A4, Letter, Tabloid and screen based displays such as iPhone, Android and Web. If you notice, some presets have profile set as CMYK. This is to specify that such documents are used for print works

The other profiles are in RGB. They are for documents created for web display, screen and devices

I selected the A4 preset. You can also create a custom document by using the New (CTRL + N) or open existing document by using Open (CTRL + O)
On selecting the A4, the User Interface of the software launches. The interface is quite intimidating for a new user of the software but it is quite simple as you explore the options
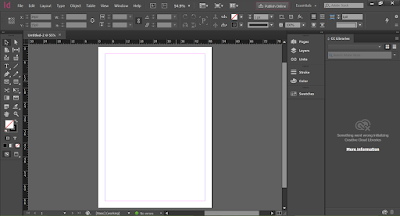
Part of the Workspace
The Application Bar: This is at the top bar of the work space just beside the Help menu. It enables us to go directly to the Bridge (Br) or use Adobe Stock (St). It also helps us to set zoom levels, show or hide rulers, guides.
The Control Panel: Just below the application bar is the Control Panel. This is a very important part of InDesign as the components help you change features as color, fill, stroke, text formatting options and effects such as Drop Shadow, Inner Shadow etc. Some functions here become active only when you are working with certain tool. You can freely drag those tools to any position you find confortable while working.
The Toolbar: The toolbar contains all the essential tools we work with from Type tool to Page tool to Selection tools. It is usually located at the left side of the User Interface. You can drag out tools while working.

Some tools have an icon beneath. It shows that there are other tools contained in the same icon.

To show these tools, hold down your left or right mouse button to reveal them.

Document Layout: Once we create a new document in InDesign, a blank document with lines at the edges appears. The black borders I highlighted shows the limit of our printed work
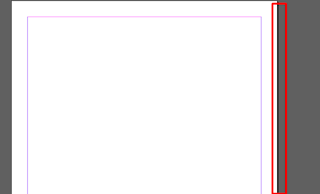
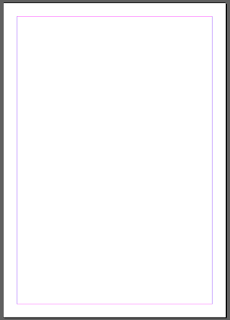
The pink borders that appear at the top and bottom of inside our document is our margin while the purple borders at both the left and right are our column guides. Do not be bothered by these lines as they will not appear when we print our work
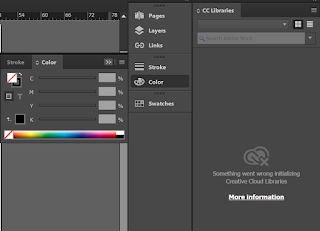
Panel Bar: This bar is located at the right side of the workspace. Some functionalities such as Layer, Color, Stroke can be changed here. The functions and properties change depending on the tool being used. They can be moved freely while working to any position.
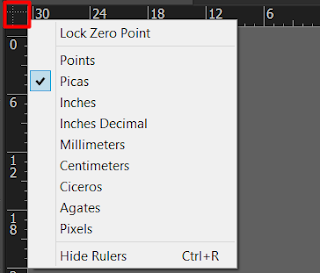
Measurement Options: You can easily change the unit of measurement by simply going to the point of intersection of the horizontal and vertical ruler bar and right click. You can chose to even hide your ruler with this option
Feel free to drop your comments below


0 Comments